Project Ghoul Controls & Keybinds
Official PC and gamepad mapping for combat, movement, and skills.
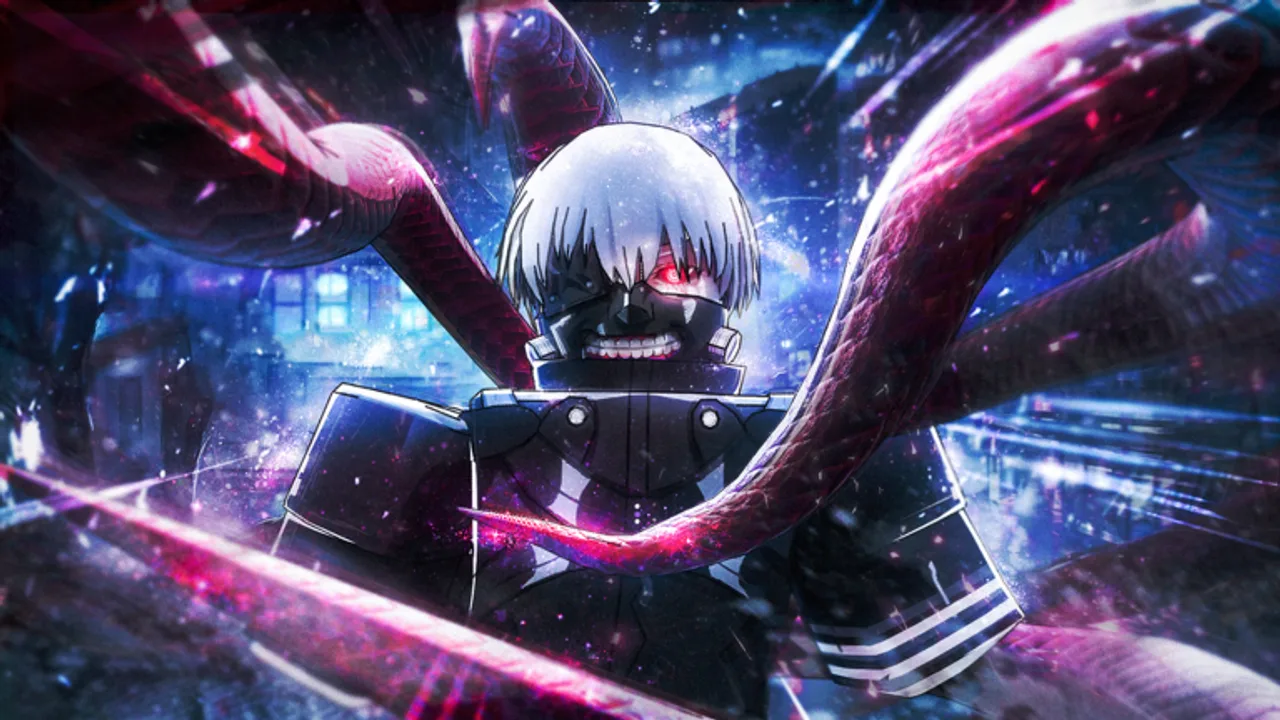
Combat in Project Ghoul punishes hesitation — blocking too late, forgetting to equip your Kagune or Quinque, or burning dash cooldowns during trivial hits costs quest time and hunger. GX Studios publishes a single control sheet on the Roblox experience page and in-game under Menu → Controls. This guide expands that official list for PC and controller players, with practical notes tied to the quest routes in Getting Started and Level Up Fast.
Official control reference
These bindings come from the live Project Ghoul: re description and match the in-game Controls menu.
| Action | PC | Controller |
|---|---|---|
| Attack | Left Mouse Button | (default attack button) |
| Block | F | Right Bumper |
| Equip Quinque / Kagune | E | Bottom D-Pad |
| Kakuja | R | Right D-Pad |
| Arata equip / Mask equip | H | Left D-Pad |
| Run | Ctrl / double-tap W | Left Stick click / hold |
| Dash | Q | Left Trigger |
| Skill 1 | Z | Button X |
| Skill 2 | X | Button Y |
| Skill 3 | C | Button B |
If a binding feels wrong after a patch, open Menu → Controls in-session — remake updates may adjust prompts before third-party guides catch up.
Combat fundamentals
Attack (LMB): basic combo chain while your weapon is equipped. Tap rhythmically rather than holding unless a specific Kagune skill says otherwise. Low-level quest farming lives or dies on attack uptime — see damage skill advice in Level Up Fast.
Block (F / RB): reduces incoming damage during telegraphed swings. Hold block for heavy attacks from Construction Site ghouls onward; tap block for lighter hits to recover faster. Blocking while out of stamina or mistiming still chunks health — pair with dash.
Equip (E / Bottom D-Pad): toggles your Kagune as Ghoul or Quinque as CCG. You cannot deal weapon damage while unequipped. Re-bind muscle memory so every fight starts with E before LMB.
Kakuja (R / Right D-Pad): activates Kakuja form when unlocked. High-cost transformation for burst phases — save for grouped NPC clears or boss thresholds, not single low ghouls outside Anteiku.
Arata / Mask (H / Left D-Pad): equips Arata armor (CCG) or Ghoul masks when owned. Early accounts skip Arata purchases; late game uses this for raid sustain. Do not confuse with equip — you need both weapon out and situational gear hotkeys ready.
Movement and spacing
Run (Ctrl / WW / Left Stick): closes distance on scattered spawns during Byrger Shot loops. Double-tap W on PC as an alternate sprint per community guides; confirm which method your client prefers after updates.
Dash (Q / LT): short invulnerability or reposition tool — exact iframe length varies by build agility. Use dash to escape Parking Garage and Sewers punish windows, not to cross the entire map. High agility lowers cooldown; over-investing early hurts damage breakpoints discussed in Ghoul builds.
Standard WASD / left stick movement applies for everything else. Camera control follows default Roblox third-person rules; no special bind listed officially.
Skills Z, X, and C
Skills unlock as you level and typically cost cooldown or resource windows. Official mapping:
- Z → Button X — usually your first unlock; best for grouped low and medium NPCs.
- X → Button Y — mid-chain nuke or mobility skill depending on Kagune or Quinque.
- C → Button B — often the longest cooldown; save for Aogiri packs or cleaner fights.
Rotate Z → basic attacks → X during quest repeats. Dump C when spawn pulls exceed ten enemies or when a boss enrage timer starts. Exact animations differ per weapon — cross-check your roll on the Kagune tier list or Quinque equivalent.
Ghoul-only: eat / grip
Community PC guides list J for eat on some client versions when gripping corpses after kills. Official Roblox description emphasizes equip and combat binds first; if eat fails, interact with the body using the default Roblox click prompt. Feeding matters for hunger and RC — see RC Cells.
Menu, Sense, and UI
No official hotkey replaces the on-screen Menu button for stats, codes, and settings. Sense (eye icon, bottom-right) highlights quests, spin shop, and raids — essential when learning the map during Getting Started.
Redeem codes via Menu → Info; adjust skill points in the stats section of the same menu tree.
Controller tips
Gamepad players map cleanly: bumpers and triggers handle defensive and mobility tools while face buttons fire skills. If skills feel awkward, remap in Roblox’s controller settings layer — Project Ghoul reads standard Xbox/PlayStation layouts.
Keep Bottom D-Pad (equip) separate from Right D-Pad (Kakuja) muscle memory; accidental Kakuja burns transformation timers during mundane farming.
Practice drill (five minutes)
- Spawn at Anteiku, press E, attack a training dummy or low ghoul.
- Block one hit with F, dash away with Q, re-engage.
- Pull three NPCs, clear with Z, finish with LMB.
- Open Menu → Controls and verify your client matches the table above.
- Proceed to Level Up Fast once equip-block-dash-Z feels automatic.
Mastering this sheet removes most early deaths. Pair inputs with stat planning and quest routing guides linked above rather than grinding under-leveled tiers.
Frequently Asked Questions
Quick answers for Project Ghoul players.
What button equips Kagune or Quinque in Project Ghoul?
Press E on PC or Bottom D-Pad on controller. You must equip before basic attacks deal weapon damage.
How do I block and dash?
Hold F or Right Bumper to block. Press Q or Left Trigger to dash out of pressure or close gaps.
Where are skills bound?
Skills use Z, X, and C on PC — Button X, Y, and B on controller. Check Menu → Controls if a patch changes prompts.
How do I run faster?
Hold Ctrl, double-tap W, or use left stick sprint depending on platform. Running helps chain Anteiku and Byrger Shot spawns.
What does H do?
H or Left D-Pad equips Arata armor for CCG or a Ghoul mask when you own them — separate from equipping your main weapon with E.
Do mobile controls differ?
Yes. This page documents official PC and controller bindings from GX Studios. Mobile uses on-screen touch buttons with different layout.